Last Updated on February 5, 2026 by maryamnawaz
Table of Contents
Introduction
Broken light bulbs can be frustrating and even dangerous. Knowing how to remove a broken light bulb safely is essential in ensuring your home remains safe and functional. Whether it’s a bulb shattered in your hands, or one stuck in the socket, proper techniques and safety precautions can make all the difference.
This comprehensive guide will walk you through step-by-step instructions, expert tips, and key safety measures to effectively tackle this common household problem.
| Step | Action | Tools Needed | Safety Tips |
| 1. Turn Off Power | Switch off the circuit breaker to the light fixture. | Circuit breaker access | Double-check power is off to avoid electrical shocks. |
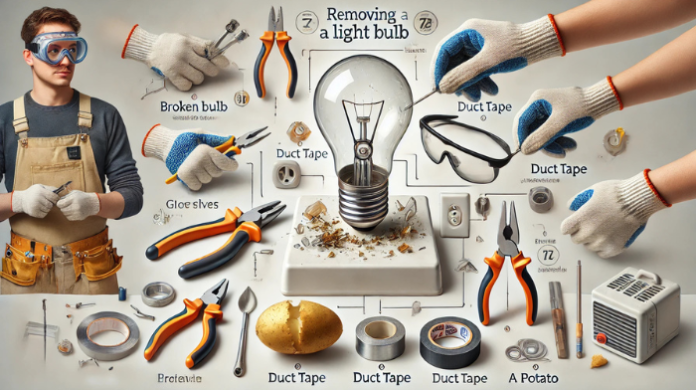
| 2. Wear Protective Gear | Put on gloves and safety goggles to protect your hands and eyes. | Gloves, safety goggles | Avoid direct contact with broken glass. |
| 3. Assess Damage | Inspect the bulb to determine if the glass is shattered or the base is stuck. | None | Identify the best removal method based on the Damage. |
| 4. Use Potato Method | Press a raw potato onto the broken bulb base and twist counterclockwise to remove. | Potato | Ensure the power is off and use a firm grip to avoid slipping. |
| 5. Try Pliers | Grip the bulb base with needle-nose pliers and twist counterclockwise. | Needle-nose pliers | Avoid excessive force to prevent socket damage. |
| 6. Use Duct Tape | Roll duct tape into a loop and press onto broken shards to pick them up. | Duct tape | Dispose of shards carefully in a sturdy container. |
| 7. Clean the Socket | Remove debris from the socket using a small brush or vacuum. | Vacuum, brush | Inspect for Damage and avoid leaving fragments behind. |
| 8. Install a New Bulb | Screw in a new bulb with the correct wattage, restoring functionality. | Replacement bulb | Don’t overtighten the new bulb to prevent breakage. |
| 9. Dispose of Shards | Place broken glass in a sealed container or double-bagged trash bag. | Trash bags, container | Avoid leaving exposed glass where it could injure someone. |
This table provides a quick and clear reference for safely removing a broken light bulb.
Why Removing a Broken Light Bulb Can Be Tricky
Light bulbs are fragile and prone to shattering, leaving sharp glass and potential electrical hazards behind. Improper handling can lead to cuts, burns, or further Damage to your light fixture.
By following the right techniques and prioritizing safety, you can avoid injury while addressing the issue promptly.
Tools and Materials You’ll Need
Before you begin, gather the following items:
- Safety gear: Gloves, protective eyewear
- A sturdy pair of pliers
- Insulated tools: Screwdrivers or other tools with rubber handles
- A potato or bar of soap: Optional for creative removal techniques
- Duct tape: For handling broken shards
- A replacement bulb: To restore lighting immediately
- Vacuum or broom: To clean up shattered glass

Having these tools ready will help you tackle the task efficiently and safely.
Step 1: Turn Off the Power
Safety first: Locate your home’s circuit breaker and switch off the power supply to the affected light fixture. A live current could still pose an electrical hazard even if the bulb seems off. Double-check by flipping the wall switch to ensure no power runs to the socket.
Step 2: Wear Protective Gear
Before handling broken glass, wear sturdy gloves to protect your hands and safety goggles to shield your eyes from loose shards. Proper attire minimizes the risk of injury during the process.
Step 3: Assess the Damage
Examine the broken bulb to determine its condition. Is the glass shattered, but the metal base intact? Or is the entire bulb stuck in the socket? Identifying the situation will help you choose the most effective removal method.
Step 4: Use the Potato Method (Optional)
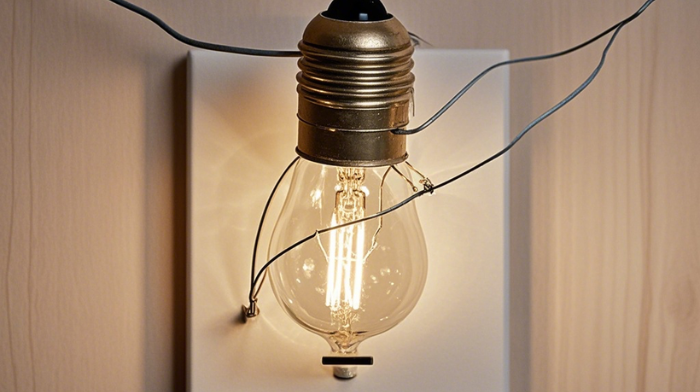
For broken bulbs with jagged edges, a common household hack is to use a raw potato:
- Cut the potato in half.
- Firmly press the flat, cut side into the broken bulb base.
- Twist the potato counterclockwise to unscrew the bulb from the socket.
The potato grips the broken glass, allowing you to remove the bulb without touching the sharp edges.
Step 5: Try Pliers for Stubborn Bulbs
If the potato method doesn’t work or the bulb base is completely intact, use pliers:
- Grip the metal base of the bulb firmly with needle-nose pliers.
- Gently twist counterclockwise to loosen and remove the bulb.
- Take your time to avoid damaging the socket threads.
Step 6: Use Duct Tape for Shards
For shattered bulbs, duct tape can help collect the remaining glass shards:
- Roll a length of duct tape into a loop with the sticky side out.
- Press it against the shards to pick them up safely.
- Dispose of the shards carefully in a sturdy trash bag.
Step 7: Clean the Socket
After removing the broken bulb, inspect the socket for debris or Damage:
- Remove glass fragments: Use a vacuum or a small brush to clean the area.
- Check for signs of corrosion: If the socket appears damaged, you may need to consult an electrician.
Step 8: Install a New Bulb
Once the socket is clean, replace the broken bulb with a new one:
- Select the correct wattage and type of bulb for your fixture.
- Screw the bulb into the socket gently to avoid overtightening.
- Restore power and test the new bulb to ensure it’s working properly.
Creative Alternatives for Removing Broken Bulbs
In addition to traditional methods, there are some innovative approaches to safely remove broken light bulbs using common household items. For instance, a bar of soap can be used similarly to the potato method: pressing the flat end of the soap against the bulb’s base allows for a firm grip while twisting it out.
Another technique involves using a rubber jar opener or a silicone trivet to improve friction and prevent slipping while turning the broken base.
Safety Tips to Remember
When handling light bulbs, always prioritize safety by turning the power off; double-check the circuit breaker to avoid accidents. Proper disposal of broken glass is crucial—place shards in a sturdy container to prevent injuries during disposal.
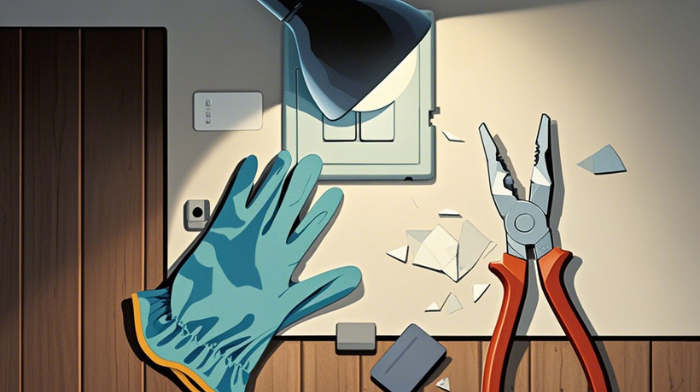
Regularly inspect the light fixture for signs of wear or loose fittings that could lead to bulb breakage. Additionally, using the right tools, such as insulated ones, can significantly reduce the risk of electrical shocks during work.
When to Call a Professional
While most broken light bulbs can be removed with DIY methods, some situations may require professional assistance:
- Severe Damage to the socket: This may indicate electrical issues.
- Bulbs stuck in hard-to-reach places: High ceilings or awkward angles may pose a risk.
- Corrosion or wear in the fixture: An electrician can assess and fix underlying problems.
Preventing Broken Light Bulbs in the Future
Prevention is always better than repair, and there are several ways to avoid similar issues with light bulbs in the future. First, handle bulbs carefully and avoid overtightening them during installation to prevent breakage. Investing in high-quality bulbs is also wise, as cheaper options tend to be more prone to shattering.
Additionally, keeping fixtures clean is essential, as dust and debris can interfere with proper bulb installation. Finally, always use the correct wattage; overloading a socket can lead to overheating and potential breakage. By following these guidelines, you can extend the life of your light bulbs and reduce the risk of accidents.
Conclusion
Knowing how to remove a broken light bulb is a valuable skill that can save you time, effort, and potential injuries. Following the expert tips and step-by-step safety instructions outlined in this guide, you can handle broken bulbs confidently and efficiently. Always prioritize safety, use the right tools, and don’t hesitate to seek professional help if needed. With these precautions in mind, you’ll be prepared for any lighting mishap that comes your way.
Apart from that if you want to know about “Improve Outdoor Lighting for a Safer Home” then please visit our “Home Improvement” Category.
Frequently Asked Questions(FAQs)
Stop immediately and consult an electrician to address potential electrical issues.
Always opt for gloves with non-conductive materials when handling electrical components.
No. Working with live electricity is extremely dangerous and can result in serious injury.


