Last Updated on June 23, 2022 by
Did you know that there are 108 American businesses that manufacture 3D printers? The industry continues to rise as more customers adopt the impressive technology.
Have you considered starting a 3D printing business? It might seem intimidating but getting started with 3d printing is easier than you think.
The following guide will give 5 simple steps on how to start 3D printing. Read on and learn how to print products and parts effortlessly.
Table of Contents
1. Purchasing a 3D Printer and Materials
First, you’ll need to decide what you’ll be printing and then select a style of 3D printer. The most common style is called a Fused Deposition Modeling printer. They release hot filament in order to produce 3D-printed objects.
Digital Light Processing printers use liquid resin to print photopolymer parts. Stereolithography and Selective Laser Sintering are similar but use powder instead of liquid. You can shop these products for more information.
A good starter 3D printer should still have solid safety features, resolution, and customer support. A 3D printer starter kit typically comes bundled with filament and software as well.
2. Make a Design
After selecting a 3D printer you will move to your computer. There you will make your design with 3D design software. AutoCAD is the most common design software used in 3D printing.
Don’t worry if you’re struggling to make your own design. There are several free resources online that offer designs at no cost.
3. 3D Printer Files
You must either download or export the STL file after making or finding a design. STL files store information about the conceptual 3D objects you’ll be printing.
More intricate prints might use a 3MF file. They carry more color and texture information but they’re typically for more advanced prints.
4. Choosing Parameters
Next, you will need to decide on the different parameters of your 3D object. This includes choosing the placement and size of your printed object.
You can set the melting temperature and bed temperature before printing. You can also adjust the printing speed, infill density, and infill geometry.
5. Create the Gcode and Print
Import the STL file from earlier into a slicing software. The software converts the STL file into a Gcode that’s recognized by the printer.
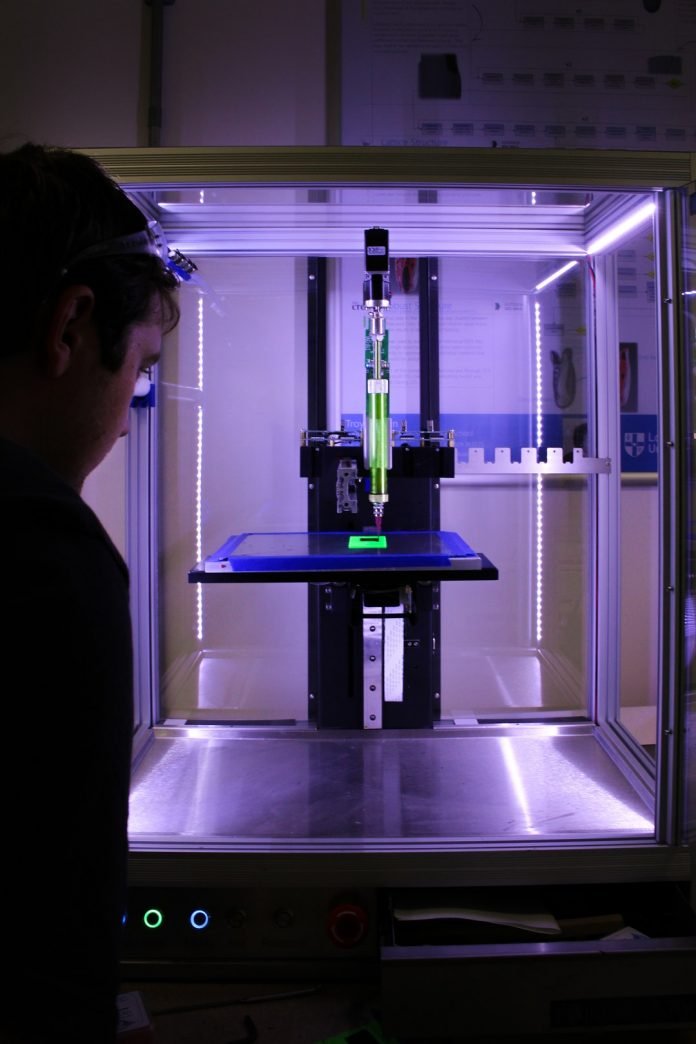
Finally, it’s time to print your 3D object. Printers create 3D objects one layer at a time. Some prints are completed in minutes and others take hours depending on their size.
You might have extra post-processing steps after depending on the type of object you’re printing. Other steps include things like painting and brushing off excess powder.
Getting Started with 3D Printing
Now you know that getting started with 3D printing is a fairly straightforward process. Printing 3D objects is a fun experience at any skill level. Your 3D prints will only get better and more creative over time.
Remember this guide and consider investing in a 3D printer either as a hobby or a business. Check out our other fascinating tech articles for more helpful information.
Read also: What to Look before Buying Screen Printing Machines for Small Business
