Last Updated on July 14, 2024 by Asfa Rasheed
Plastering is a skill in the construction industry that requires precision and expertise. Whether you’re a DIYer or a professional tradesperson, mastering the art of plastering can significantly enhance your projects. In this post, we will explore techniques that can help you achieve impeccable plastering outcomes.
Table of Contents
Surface Preparation
Experts of plastering in Wellington recommend preparing the surface before applying plaster to ensure a smooth finish. Start by using a brush or vacuum cleaner to remove any dust or debris from the wall. Then, slightly dampen the surface to improve plaster adhesion. If there are any cracks, holes or imperfections, use filler or joint compound to repair them. Take your time during this step, as a well-prepared surface sets the groundwork for flawless plastering.
Plaster Mixing
Proper measuring and mixing of plaster is essential to achieve the required consistency. Begin by adding water to a mixing container and gradually incorporate the plaster while continuously stirring with either a trowel or paddle mixer. Strive for a texture that’s free of lumps but still easy to spread without being overly runny. Remember to follow the manufacturer’s instructions on water-to-plaster ratios for the best results.
Applying Base Coats
For adhesion and durability, it is recommended to apply thin layers of plaster. Before starting each coat, make sure to moisten the wall with water. This helps prevent the plaster from drying and improves bonding between the layers.
Using a trowel, take some plaster onto the end and evenly spread it across the surface. Start from the bottom and move upwards. Apply even pressure while maintaining hand movements to ensure consistent thickness throughout.
Feather Edges
To achieve the best results when levelling walls or filling gaps between surfaces, such as two adjacent walls, it is important to create feathered edges at corners or edges. To do this, lightly dip your trowel in water and gently run it along the edge of the plaster at an angle. This technique creates a smooth transition between the plastered surface and the existing wall.
Maintaining Consistency
Consistency is key throughout the plastering process to achieve flawless results. Remember to remix your plaster mix to maintain a texture and prevent it from drying out. Also, avoid stopping midway through applying a coat, as this can result in noticeable joins or irregularities in texture.
Sanding and Finishing
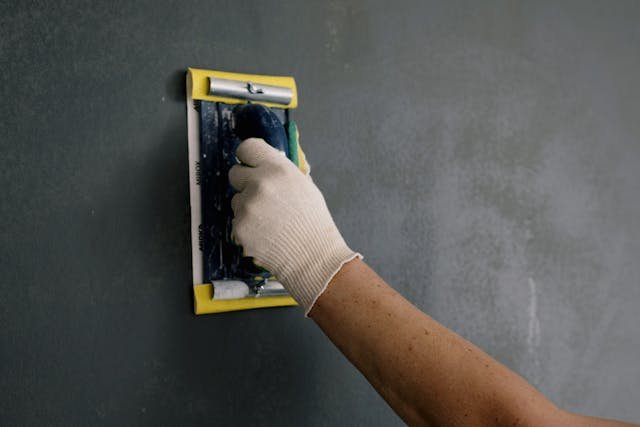
Once your plaster has completely dried, examine the surface for any flaws or rough patches that require attention. Carefully smooth them down using sandpaper until you achieve a smooth finish. Be cautious not to over-sand as it may harm the layer.
After sanding, remove any dust with a cloth. Apply a primer before painting or wallpapering to enhance durability and ensure better adhesion of subsequent decorative finishes.
Pro-Tip: Avoid applying lead-based paint in your home, as it can pose many serious health risks and harm the environment.
Practice and Patience
Plastering in Wellington and other areas is undoubtedly a skill that improves with practice, so don’t get disheartened if your initial attempts don’t yield flawless outcomes. It’s important to approach each project with patience and maintain a growth mindset.
Make use of materials like scraps of drywall or plywood to practice techniques before trying them on your walls. Take note of areas that require improvement and focus on refining those aspects through practice.
Remember, mastering plastering techniques takes time, but by practising these methods, you’ll eventually achieve impeccable results.
Conclusion
Becoming proficient in plastering techniques requires time and dedicated practice. By exercising patience and paying attention to detail, you can accomplish flawless results in your projects.
Make sure you prepare the surfaces properly before applying plaster. It’s important to properly mix the plaster and apply it in thin layers for better adhesion. Feather the edges to create transitions and try to maintain consistency throughout the process. Finally, finish off by sanding and priming.
By following these techniques with clarity and coherence at every stage of your plastering project, whether it’s at home or on a job, you’ll be well on your way to becoming an expert with the trowel!


