


Last Updated on September 15, 2022 by
Looking to create an elegant mosaic backsplash but don’t want to break your back (or bank account) in the process? Then vinyl backsplash tiles may be just what you need! Made of peel-and-stick materials, these tiles are easy to work with and can be cut to fit almost any shape or size. Plus, if you don’t like the way it looks once it’s up, you can take it down and redo it! You’ll save time, money, and effort with this innovative product.
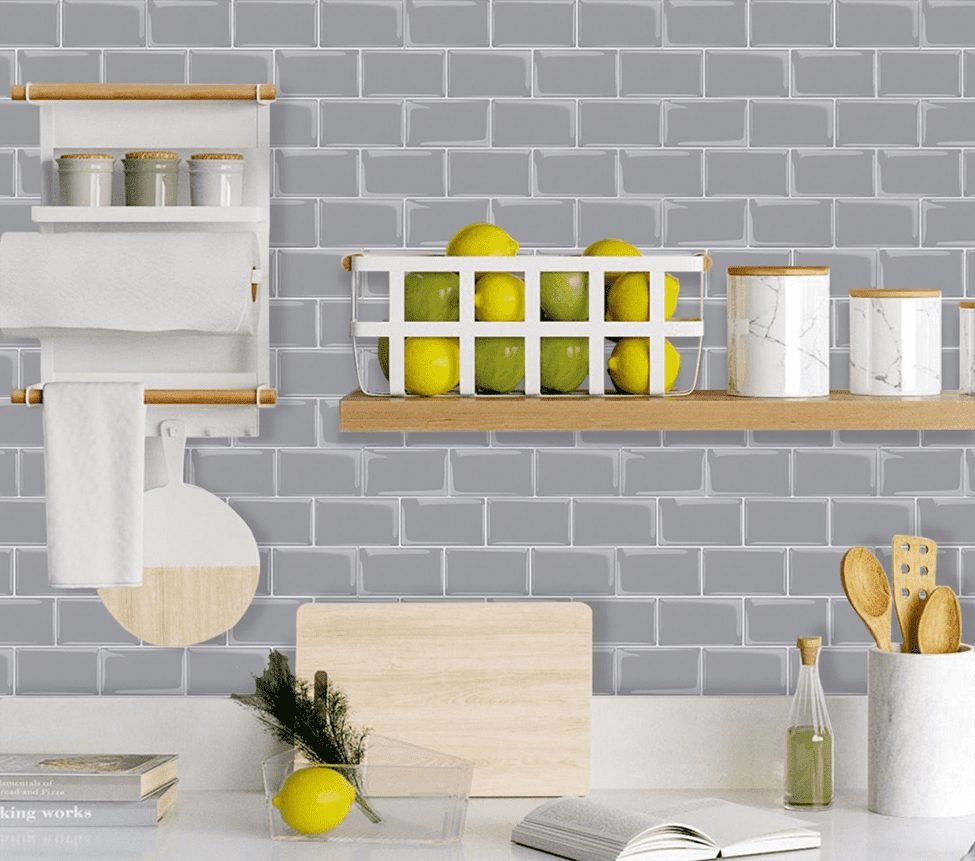
Table of Contents
5 Best Materials for Peel and Stick Backsplash
Peel and stick vinyl backsplash is self-adhesive, PU glue on top, backed with strong adhesive, people also call it self-adhesive wall tile or mosaic tile sticker. It is the easiest, fastest, and most affordable way to tile a surface or create a quick mosaic backsplash.
When considering which material you want for your home project consider a few factors such as: Texture- The smoother the better. Vinyl has a textureless surface. Cost- There are many different price points that offer different benefits like easy installation and durability. Appearance- Remember you will be looking at this for years so don’t choose something that clashes with your personal taste! Durability- You want something that will last through all types of conditions, including extreme heat and cold.
What Size of Self-Adhesive Wall Tiles?
Vinyl backsplash tiles come in a wide variety of sizes and colors, and the size you need depends on how much space you have. We recommend ordering the 12 x 12 vinyl backsplash tiles for your kitchen or bathroom; these vinyl backspalsh will tile about 10 square feet each, depending on design. They are also available in 8 x 8, 16 x 16, and 24 x 24. You can also order specialty vinyl backsplash tiles that replicate stone, glass, marble, and mosaic designs. Choose whatever is best for your project!
How Long Can I Use Vinyl Self-Adhesive Wall Tiles? It is always recommended to read the manufacturer’s guidelines before installing any self-adhesive wall tiles or peel and stick mosaic tile stickers. For most applications, it is advised that users replace their peel and stick self-adhesive wall tiles at least every two years for optimal performance. For example, if you live in an area with high humidity (or someone likes to cook bacon at 6 am), then it might be better to replace them annually so they don’t begin to wrinkle up from all the moisture in the air. However, if you live in an area with low humidity (or someone likes touch their phone screen more than bacon), then two years should be plenty of time before replacement becomes necessary.
How Many of Self-Adhesive Wall Tile Would You Need?
How many self-adhesive tiles do you need? The first thing you’ll want to know is the length and width of your surface or backsplash. Once you know that, it’s just a matter of multiplying the two together and rounding up. For example, if I want my surface or backsplash to be 4ft wide by 3ft long, I would need 36 self-adhesive tiles (4 x 3 = 12; 12 + 1 = 13).
6 Steps to Install Peel & Stick Backsplash
The first step is preparing the area. This includes taping off the edges so there’s no chance of peel and stick vinyl tiles getting stuck on the counter, or cleaning up any leftover grout lines or sealant. It also includes deciding what wall color you’re going for. The second step is installing Peel & Stick vinyl tile in straight lines by cutting them every 12 so that they can fit in between cabinet frame supports, if necessary. After this, carefully position each piece in place with a few pieces along the edge of the cabinets. Make sure all peel and stick backsplash tiles are evenly spaced and level with one another before proceeding to step three.
Step three involves placing masking tape over an empty space where you want your next row of peel and stick backsplash to go. Carefully press each piece down firmly before removing tape (or if doing a mosaic backsplash use corner markers). After removing tape, press down on newly placed pieces as well as ones below it. Continue this process until all desired rows are completed then move onto step four. Step four: cut the tiles into size if there are switches, then stick the tiles to right area. Step five: peel the film off from the tile surface, clean the tile surface if needed. Step six: add some extra glue if needed to keep the tiles stay on the walls for a longer time.
Follow the steps, you will get a good DIY kitchen backsplash by yourself, it is much budget saving way then other traditional tiles. So if you want to update your kitchen backsplash and find the ideas, go and get some peel and stick tiles, they worth the value!
Apart from that if you wants to know about kitchen design than visit our home improvement page


